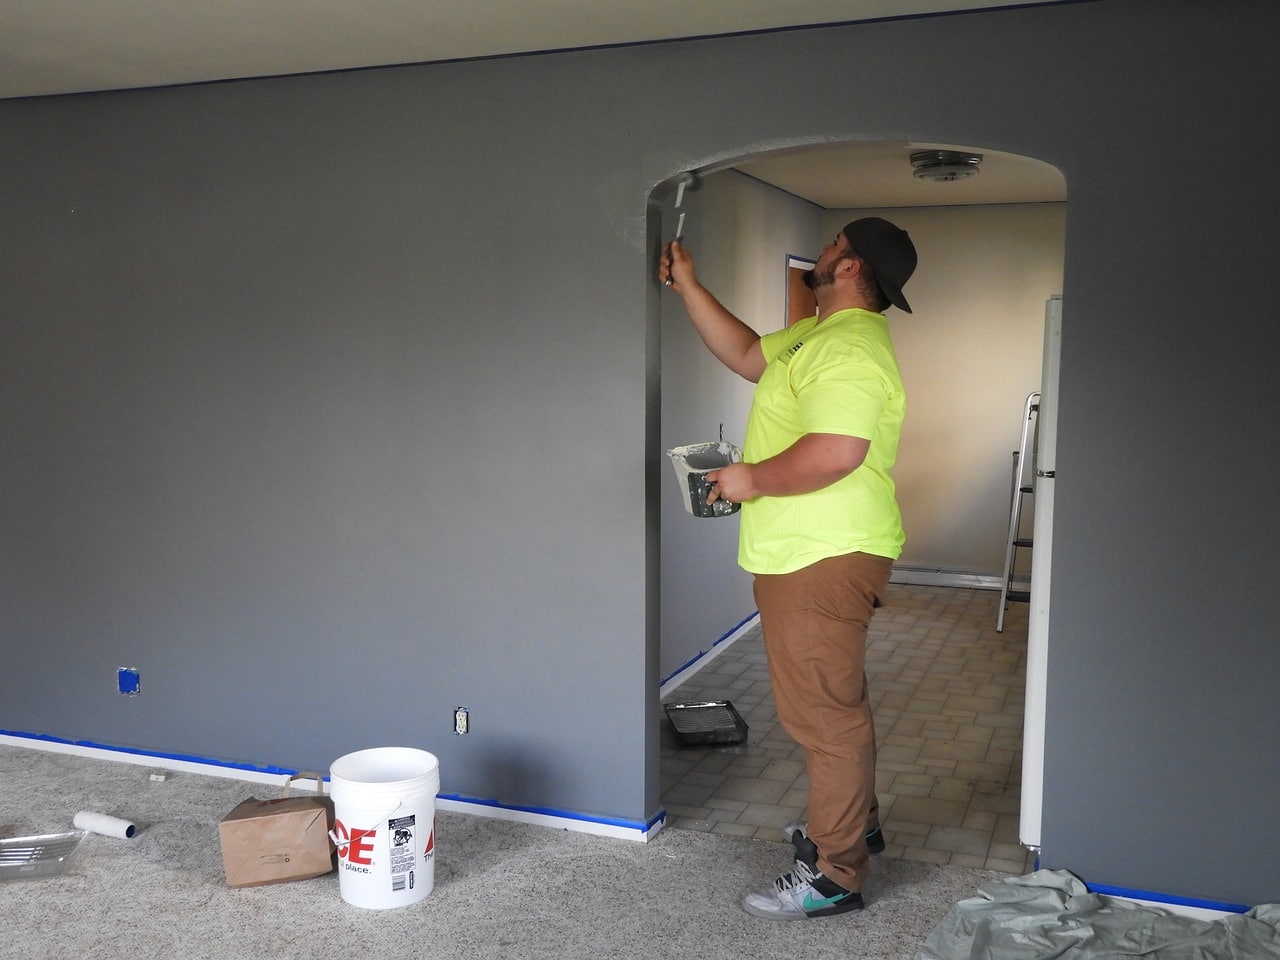
One of the ways you can have fun and bond with your loved ones is to engage in interior painting together.
If you keep essential tips in mind, you would realise that you do not have to spend money on painters because it is something that brings out your creativity and doesn’t require too many complexities.
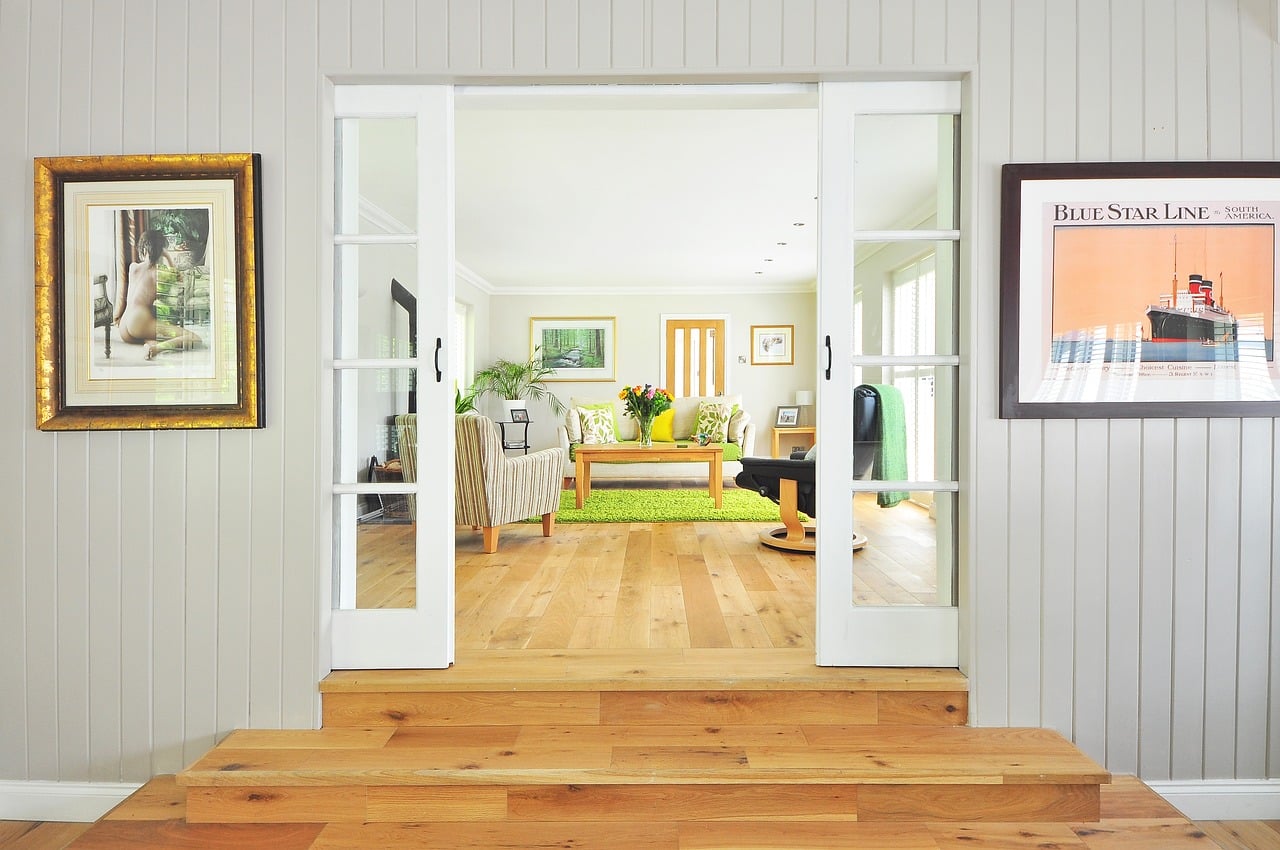
So, if you’re already planning to change your interior and you have picked the colours of paint that you would like to see on your walls, the seven tips shared in this article should help you on your journey to achieving the home of your dreams.
If you decide to take interior painting as a career after painting your home, these tips will help you go a long way, so you take them seriously.
1. Try not to get the lap marks
If you unevenly lap paint, you will notice lap marks on your wall. If you roll over your colour on a dry part or on a half dried part of your wall, there is no way you can avoid the lap marks on your wall.
If your area of residence is a dry and warm one, then you shouldn’t consider using latex paint because they do not take more than a minute to dry up.
If you must avoid such a situation, then the best thing you can do is to maintain a wet edge. Once you keep a damp side, every stroke you make with neatly overlap the previous one and give you a smooth painting, and you will not have to bother about lap marks.
To maintain the wet edge, the best place to start is from a corner. Slightly move over with each stroke and run your roller up and down until you have covered your entire walls. As soon as you see your roller getting dried, quickly reload it with paint.
2. Make consistent colour
If you have chosen a specific colour, you want to use, and you have more than one kind of it it is advisable that you get a big bucket and makes all the kinds of that colour of paints in the bucket.
The reason why you have to do this is that two different types of the same colour can come in different shades.
When you mix all the cans of that particular colour together, you would be able to achieve consistency, and that will go a long way to give your house a uniform look when you’re done with the painting.
When you paint your walls with the same colour from different kinds, a noticeable difference would appear, and that is not what you want, at the end of a stressful day of painting.
It is advised that if you’re going to use a particular colour, you should purchase a big can that would be enough to paint the area of your house that needs that colour. It is a better option instead of getting several small cans of that colour of paint.
3. Get the perfect edge
As a matter of fact, the best thing you should do is leave your wall to dry before obliterating the tape. Usually, it will take your walls 24 hours to dry properly.
To slice off the tape perfectly, you must begin from the area of the world where the paint has completely dried up.
Some people are very impatient that they decide to take off the tape when the colour is still coming, but if you want your wall to look flawless, then patience is critical.
4. Trim followed by ceiling and walls
The exciting thing about trim painting is that it doesn’t require being extra careful or very neat, all that you need is a smooth consistency.
If the trim paint spills all over your wall, you don’t have to bother much because you can handle them later.
It also takes as long as 24 hours for the trim paint to dry so you need to be very patient if you must get the best outcome. You can take off the tapes much later then begin your work from the ceiling down to the walls.
5. Avoid a blotchy finish
These flaws may not be visible when your room is dark, but as soon as there is light they would become very evident, and you would be disappointed at how terrible your house would look.
To avoid dealing with this problem, it is advised that you feel the patches before you begin painting. A coat of primer is not a bad idea before you start your paint job if you really want to get the best outcome.
A layer of the primer can help to eliminate any unnecessary texture and flashing when you are done with the painting. What a primer does is to help you feel all the patches so that your paint job comes out flawless and beautiful.
6. work on the dirty surface
Don’t be too lazy to clean your walls before you begin your painting neatly. You are cleaning your walls of every grease stain orders before painting will provide you with a neat job when you’re done.
If you apply paint on a dirty surface what you should expect is that after a while it will begin to peel off and you do not want that. To nicely clean your walls before painting you can use a de-glosser or a multi-purpose heavy duty cleaner.
These wall cleaners work pretty well over any kind of surface so you don’t have to worry about whether or not they would clean your walls the way you want.
7. Buy high-quality paint sprayers brushes and rollers
If you want your house to look amazing, then be ready to invest in high-quality paints and high-quality tools for painting.
You can check online for all the best paint sprayers brushes and rollers that you can get at affordable prices.
Let us know if you find this piece of writing helpful. Please leave a comment below.


